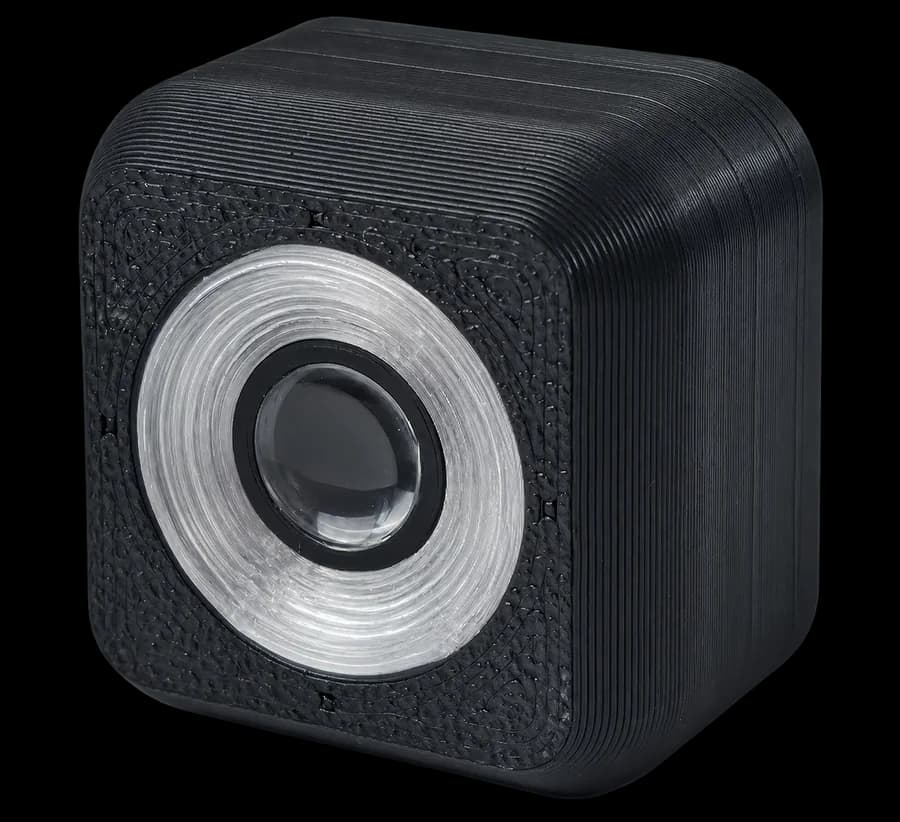
What Is a Color Sensor
Let's move on to another sensor that helps the robot navigate not by line, but by the color of an object.
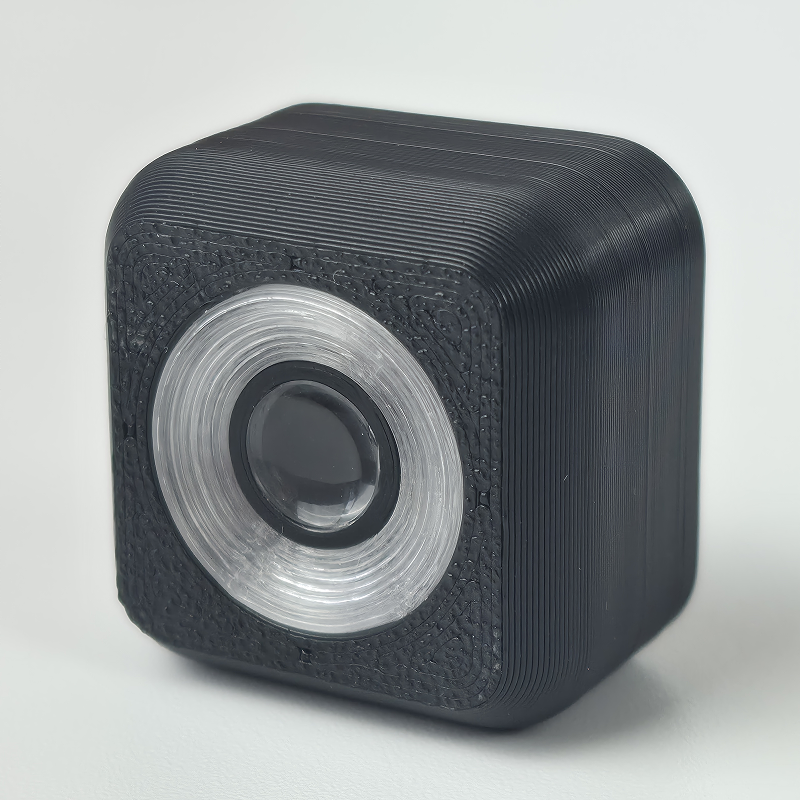
Color sensor is used so the robot can determine the color of a surface or object in front of it. For example, the robot can drive up to a cube, read its color, and perform a different action: stop, turn, keep driving, or grab the object.
Unlike the line sensor, the color sensor usually looks not down at the field, but at an object in front of the robot or in the gripper zone. That makes it convenient for sorting tasks, recognizing colored objects, and choosing an action based on color.
Connection and Address Setup
The color sensor connects over I²C. How to work with and configure such devices was covered in Lesson 3.
Usually the color sensor uses the address:
0x40
Try to detect the addresses of connected I²C sensors and change them to values that work for you.
Important: after you change the address, the sensor responds only at the new address. So you cannot immediately run the next program with the old address 0x40 if you already changed the sensor address. First replace the address in the program, for example in the line const byte COLOR_SENSOR = 0x41;, and only then upload the next sketch.
Libraries for Working with the Sensor
To work with the color sensor, use the additional library Barigadam_ColorSensor.h, written specifically for this sensor:
#include <Wire.h>
#include <Barigadam_ColorSensor.h>
#include <LittleRobot.h>
Because the sensor connects over I²C, you also need the Wire.h library for correct work with this protocol.
Store the address in the COLOR_SENSOR constant and create a sensor object. It remembers the address, so readings do not need it as an argument. After a successful changeAddress, the object updates its address only in the current program; the next sketch’s constant must contain the device’s actual address.
const byte COLOR_SENSOR = 0x40;
BarigadamColorSensor sensor(COLOR_SENSOR);
Color Sensor Operating Modes
The color sensor has several operating modes. The mode determines what data the sensor outputs and how it uses illumination.
Main modes:
0— mode without indication;1— basic color detection mode;2— colored-objects-only detection mode;3— true color mode;4— rawRGBCvalues mode;5— background reading or mode without illumination.
To change the mode, use the function:
sensor.setMode(mode);
The method sends an I²C command and takes only a mode number, 0–5: the object already stores the address. true means the I²C write was acknowledged; it does not guarantee nonvolatile storage. Persistence across power cycles depends on the firmware and requires its documentation.
For example, you can enable the regular color detection mode like this:
sensor.setMode(1);
To check the current mode, read a special sensor register:
uint8_t mode;
if (sensor.readRegister(0x09, mode)) {
  Serial.println(mode);
} else {
  Serial.println("I2C error");
}
readRegister() reads a value from an internal sensor cell. In this case, register 0x09 stores information about the current operating mode.
A separate program for changing the mode:
#include <Wire.h>
#include <Barigadam_ColorSensor.h>

const byte COLOR_SENSOR = 0x40;
BarigadamColorSensor sensor(COLOR_SENSOR);

void setup() {
  Serial.begin(9600);
  Wire.begin();

  if (!sensor.setMode(1)) {
    Serial.println("I2C error: mode not set");
    return;
  }
  delay(100);

  uint8_t mode;
  if (sensor.readRegister(0x09, mode)) {
    Serial.print("Mode: ");
    Serial.println(mode);
  } else {
    Serial.println("I2C error: mode not read");
  }
}

void loop() {
}
You can set the mode in the main program’s setup(). The command sends once and returns, so the program continues. A separate sketch is useful for checking, but is optional. Here loop() is empty; the measurement programs below check readiness separately because returning from setup() does not prevent loop() from running.
Color Detection
In the regular mode, the color sensor can detect the object color on its own and write the result into the special Color register.
A register is an internal memory cell in the sensor. The sensor writes the result of its work into it. The Color register stores a ready-made color number that the sensor recognized.
In this mode, you do not need to manually compare R, G, and B values. The sensor already chooses one of the ready-made color options and returns a number to the program.
In this mode, the sensor works with 6 main colors:
1— black;2— blue;3— green;4— yellow;5— red;6— white;-1— color not determined;-2— communication error.
To read the Color register, the library provides a convenient function:
sensor.readColor();
In essence, this function gets a ready-made color value from the sensor. So for the first programs, it is better to use it rather than reading the register manually.
Main test program:
#include <Wire.h>
#include <Barigadam_ColorSensor.h>

const byte COLOR_SENSOR = 0x40;
BarigadamColorSensor sensor(COLOR_SENSOR);
bool sensorReady = false;

void setup() {
  Serial.begin(9600);
  Wire.begin();

  sensorReady = sensor.setMode(1);
  if (!sensorReady) {
    Serial.println("I2C error: mode not set");
  }
}

void loop() {
  if (!sensorReady) {
    delay(300);
    return;
  }

  int color = sensor.readColor();
  if (color == -2) {
    Serial.println("I2C error: color not read");
    delay(300);
    return;
  }

  Serial.print("Color register: ");
  Serial.println(color);

  delay(300);
}
RGBC Values
The color sensor illuminates the object and reads the reflected light. Color can be represented as a combination of three main components:
R— red component;G— green component;B— blue component.
The sensor can also return a C value. It shows the overall light level that reached the sensor. This value is useful for understanding how brightly the object is lit.
For example, for a red object, the R value is usually greater than G and B. For a green object, G will be stronger; for a blue object, B will be stronger. But the values depend on lighting, distance to the object, and surface material, so you should test the sensor before the main program.
Sometimes one ready-made color value is not enough. For example, the sensor may make mistakes because of lighting or similar shades. In that case, it is better to look at the raw R, G, B, and C values.
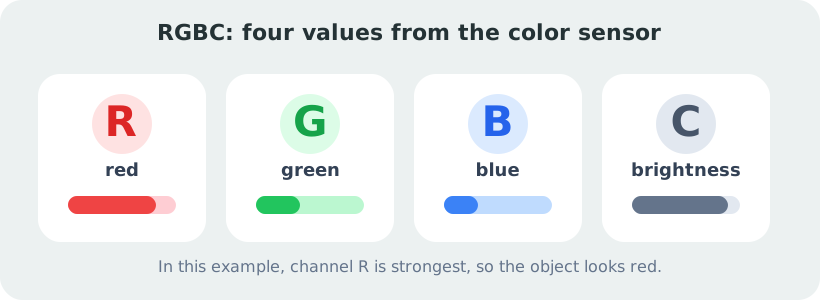
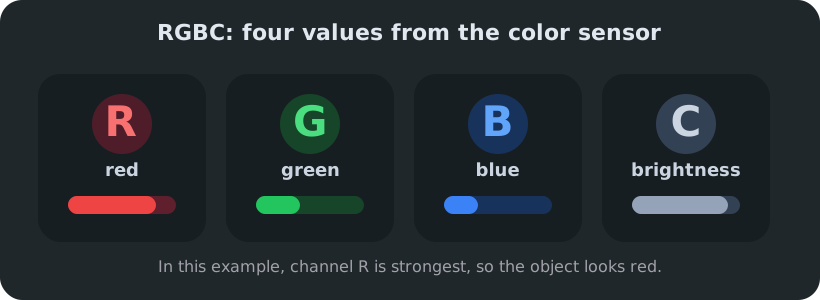
For this, use the function:
sensor.readRGBC(R, G, B, C);
It reads four values at once:
R— red channel;G— green channel;B— blue channel;C— overall light level.
Main test program:
#include <Wire.h>
#include <Barigadam_ColorSensor.h>

const byte COLOR_SENSOR = 0x40;
BarigadamColorSensor sensor(COLOR_SENSOR);
bool sensorReady = false;

void setup() {
  Serial.begin(9600);
  Wire.begin();
  sensorReady = sensor.setMode(4);
  if (!sensorReady) {
    Serial.println("I2C error: mode not set");
  }
}

void loop() {
  if (!sensorReady) {
    delay(300);
    return;
  }

  uint16_t R = 0;
  uint16_t G = 0;
  uint16_t B = 0;
  uint16_t C = 0;

  if (!sensor.readRGBC(R, G, B, C)) {
    Serial.println("I2C error");
    delay(300);
    return;
  }

  Serial.print("R: ");
  Serial.print(R);
  Serial.print("  G: ");
  Serial.print(G);
  Serial.print("  B: ");
  Serial.print(B);
  Serial.print("  C: ");
  Serial.println(C);

  delay(300);
}
This program sets mode 4 in setup() using setMode. The reference arguments of readRGBC require uint16_t variables. On failure, the method clears the outputs and returns false; these zeros must not be reported as measurements, so that iteration of loop() is skipped. Hold different colors near the sensor and compare the channels.
For example, for a red object, the R value should be noticeably higher than G and B. For green, G should be higher; for blue, B should be higher.
HSV Values
Besides RGB, color can also be described through HSV.
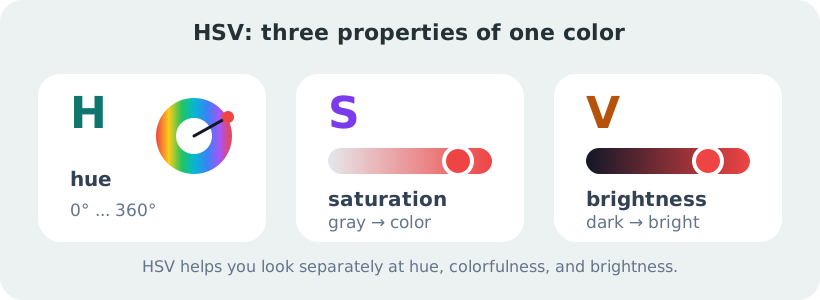
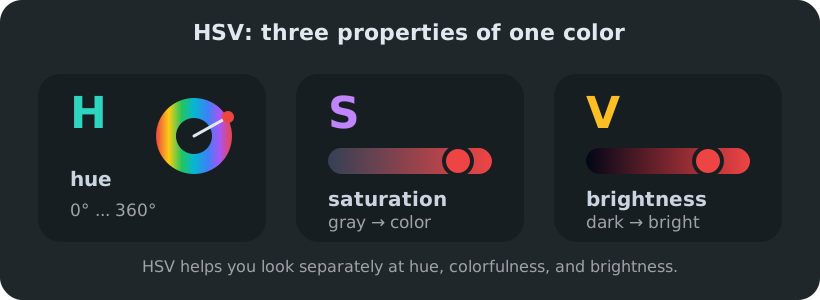
HSV is another way to represent color:
H— hue;S— saturation;V— brightness.
This format is useful when you need to distinguish hue itself, not just compare red, green, and blue channels.
To read HSV values, use the function:
sensor.readHSV(parameter_number);
Where the parameter number is:
1—Hvalue;2—Svalue;3—Vvalue.
Test program:
#include <Wire.h>
#include <Barigadam_ColorSensor.h>

const byte COLOR_SENSOR = 0x40;
BarigadamColorSensor sensor(COLOR_SENSOR);
bool sensorReady = false;

void setup() {
  Serial.begin(9600);
  Wire.begin();

  sensorReady = sensor.setMode(1);
  if (!sensorReady) {
    Serial.println("I2C error: mode not set");
  }
}

void loop() {
  if (!sensorReady) {
    delay(300);
    return;
  }

  float H, S, V;
  if (!sensor.readHSV(H, S, V)) {
    Serial.println("I2C error");
    delay(300);
    return;
  }

  Serial.print("H: ");
  Serial.print(H);
  Serial.print("  S: ");
  Serial.print(S);
  Serial.print("  V: ");
  Serial.println(V);

  delay(300);
}
H, S, and V use float: H is in [0, 360), while S and V range from 0 to 1. One sensor.readHSV(H, S, V) call computes all components from the same sample. Reading individual channels is allowed, but three separate calls can refer to different samples. With C = 0, a successful call can return three zeros; this is not necessarily an I²C error. A return inside loop() skips only that iteration.
Open Serial Monitor and test several colored objects. The H value should change the most when the color changes. The S and V values help you understand how saturated and bright the color is.
Effect of Lighting and Distance
The color sensor readings are affected by:
- distance from the sensor to the object;
- brightness of external lighting;
- surface material;
- the angle at which the sensor looks at the object;
- illumination color and reflection from nearby objects.
If the object is too far away, the sensor may read the color worse. If the object is too close, the readings may also become unstable. So it is better to keep the object at roughly the same distance from the sensor.
If the sensor often makes mistakes, first check the values in Serial Monitor, and only then change the conditions in the program.
Practical Part
In the practical part, we will use not the raw R, G, and B values, but the ready-made color number from the Color register. That makes the program simpler: the sensor recognizes the color itself, and the robot only chooses an action based on the number it receives.
Use the codes from the README and ColorRead example: green is 3, yellow is 4. readColor returns the firmware code without renumbering (byte 0xFF becomes -1); verify the mapping on your sensor before recording a demonstration. -1 means an undetermined color, not a guarantee that no object is present. On -2, the program removes motor power and prints a communication error.
Let's build a program in which the robot reacts to the color of the object in front of the sensor.
The program uses two libraries: Barigadam_ColorSensor.h reads the color, and LittleRobot.h controls the robot motors. robot.begin() already starts Wire, so a separate Wire.begin() is unnecessary here. The standalone examples without LittleRobot call it before communication.
#include <Wire.h>
#include <Barigadam_ColorSensor.h>
#include <LittleRobot.h>

LittleRobot robot;

const byte COLOR_SENSOR = 0x40;
BarigadamColorSensor sensor(COLOR_SENSOR);
bool sensorReady = false;

const int COLOR_BLACK = 1;
const int COLOR_BLUE = 2;
const int COLOR_GREEN = 3;
const int COLOR_YELLOW = 4;
const int COLOR_RED = 5;
const int COLOR_WHITE = 6;
const int COLOR_EMPTY = -1;
const int COLOR_ERROR = -2;

void stopMotors() {
  robot.MotorPower(1, 0);
  robot.MotorPower(2, 0);
}

void setup() {
  Serial.begin(9600);
  robot.begin(true, true);

  sensorReady = sensor.setMode(1);
  if (!sensorReady) {
    stopMotors();
    Serial.println("I2C error: mode not set");
  }

  robot.waitButtonPressRelease();
}

void loop() {
  if (!sensorReady) {
    stopMotors();
    delay(300);
    return;
  }

  int color = sensor.readColor();
  if (color == COLOR_ERROR) {
    stopMotors();
    Serial.println("I2C error: color not read");
    delay(300);
    return;
  }

  Serial.print("Color: ");
  Serial.println(color);

  if (color == COLOR_RED) { // if red — drive backward
    robot.MotorPower(1, -35);
    robot.MotorPower(2, -35);
  }
  else if (color == COLOR_GREEN) {  // if green — drive forward
    robot.MotorPower(1, 35);
    robot.MotorPower(2, 35);
  }
  else if (color == COLOR_BLUE) {  // if blue — turn in place
    robot.MotorPower(1, 35);
    robot.MotorPower(2, -35);
  }
  else {  // otherwise — stop the motors
    stopMotors();
  }

  delay(100);
}
In this program, the robot compares the six ready-made color values:
- if the sensor sees a red object, the robot drives backward;
- if the sensor sees a green object, the robot drives forward;
- if the sensor sees a blue object, the robot turns in place;
- if the color is not recognized confidently, the robot stops.
Study the program, try changing the colors to recognize or the actions they should perform when a color is detected. Also try different sensor operating modes and find the one that fits your tasks.
Two color sensors
BarigadamColorSensor leftSensor(0x40);
BarigadamColorSensor rightSensor(0x41);
This fragment declares two objects for modules whose physical addresses have already been configured. Constructors do not assign addresses. Scanning and changing an address with one sensor connected at a time are covered in Lesson 3.