Little Robot kit
Everything for the first launch in one box
The electronics, mechanics, cables, and tools are selected to work together. Follow the assembly steps and upload your first program.
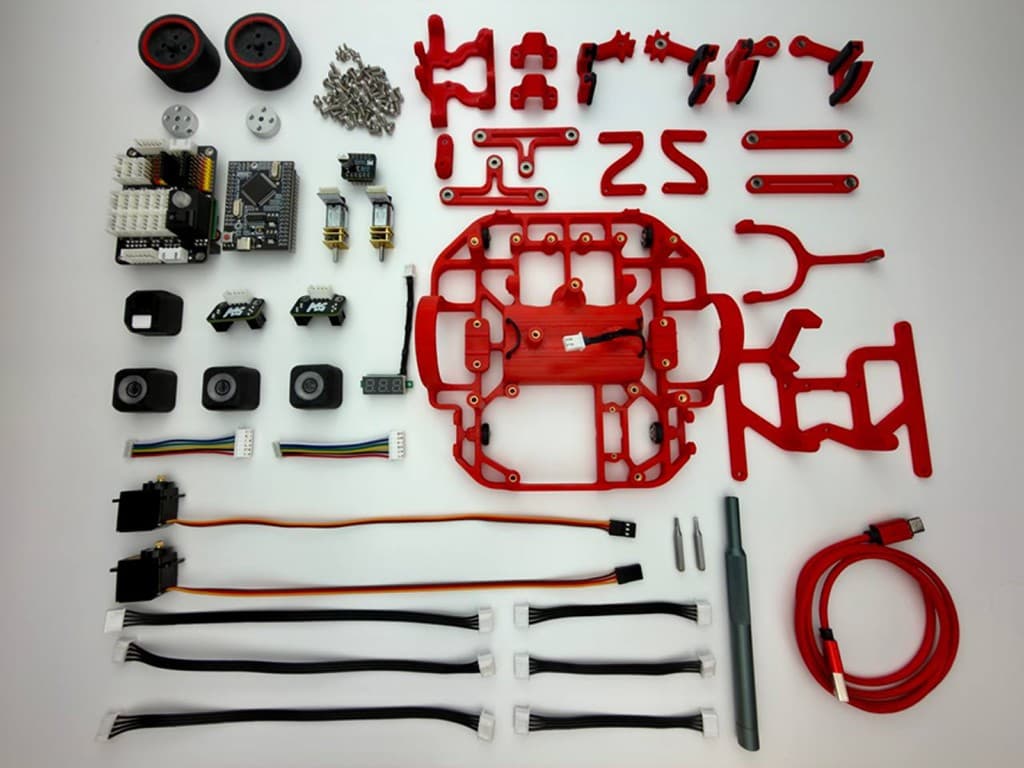
Kit contents
Parts organized by purpose
Before starting work, check the box and prepare everything you need for assembly.
Barigadam components
The Control Deck and sensors through which the robot receives commands and reads the field.
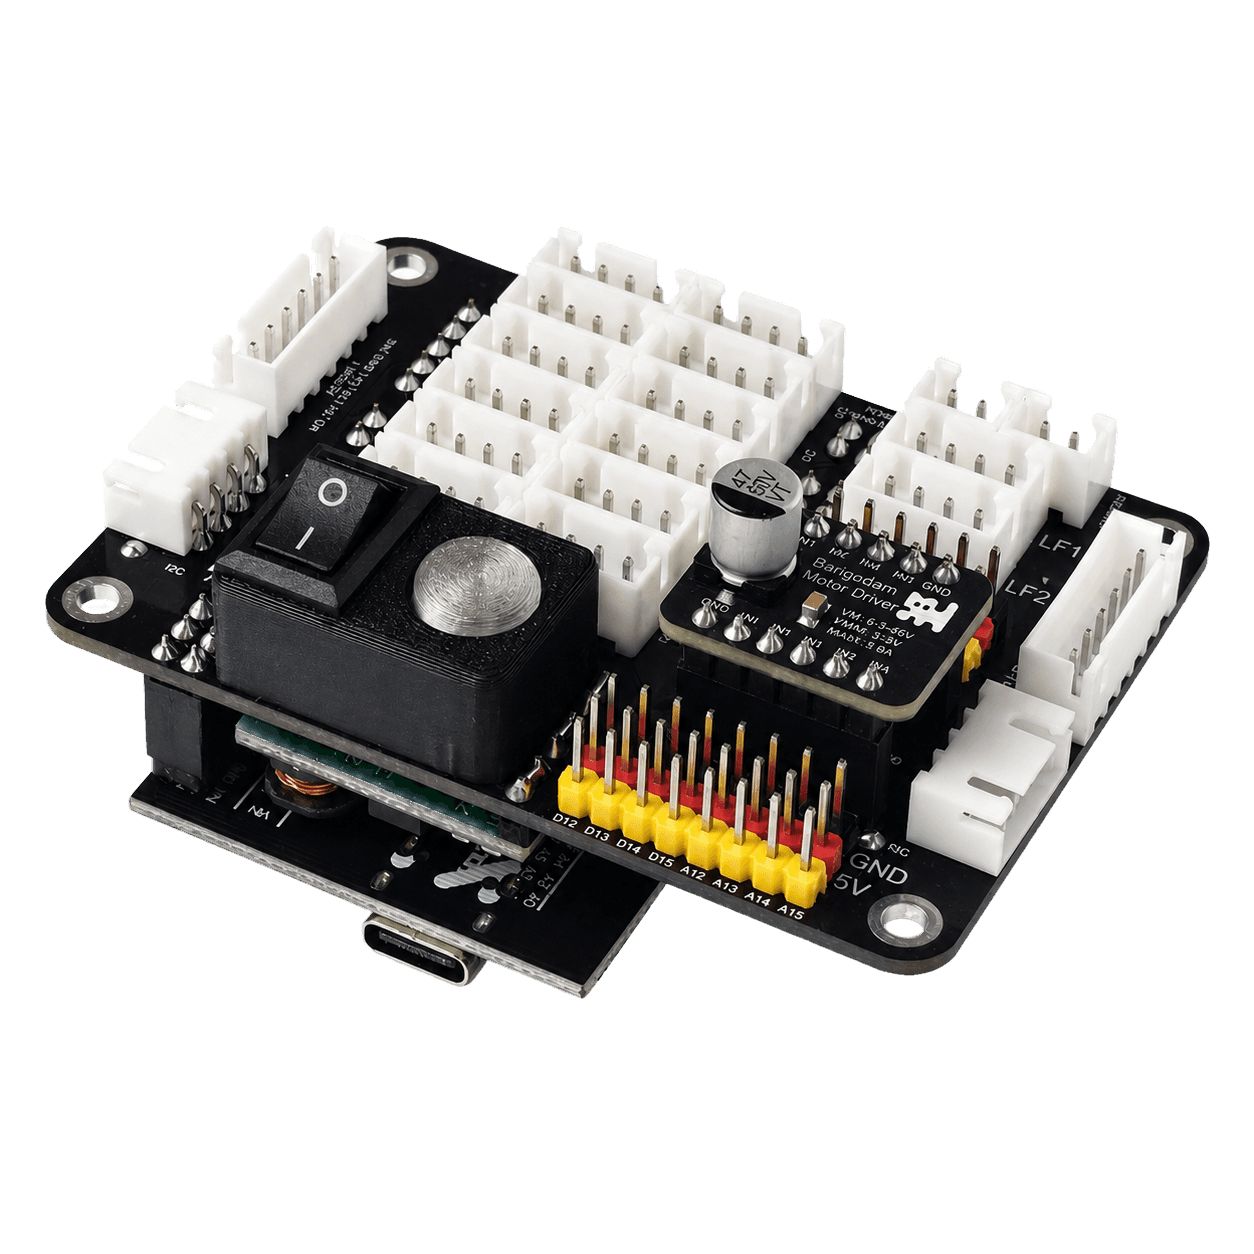
- Arduino Mega-based Control Deck1 pcs
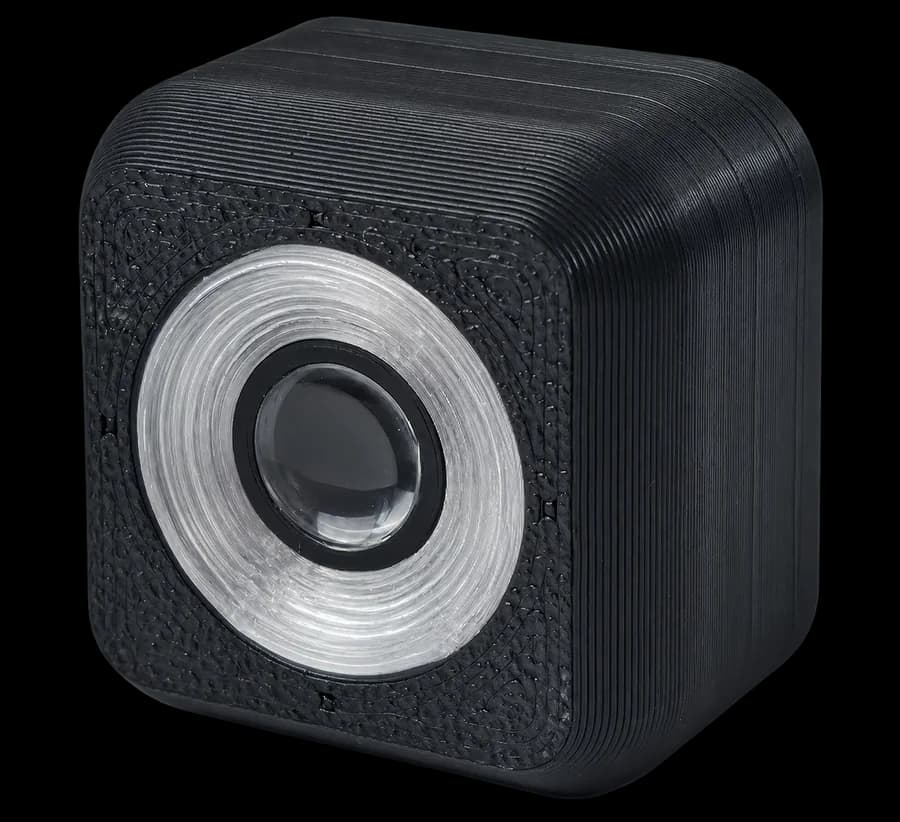
- Color Sensor3 pcs
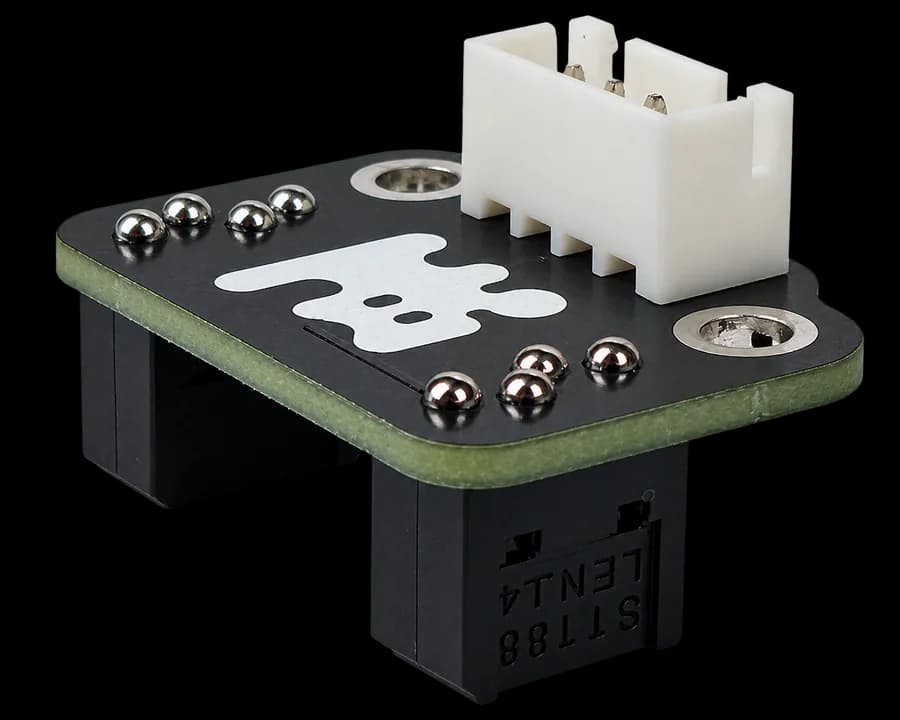
- Line Sensor2 pcs
- Motion Sensor1 pcs
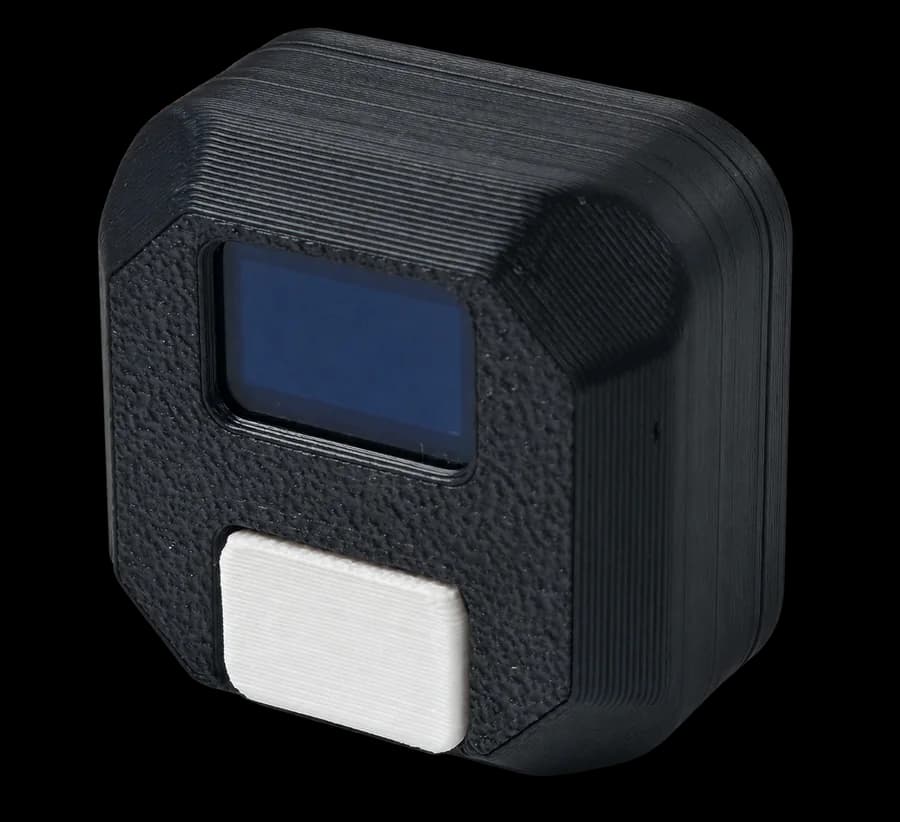
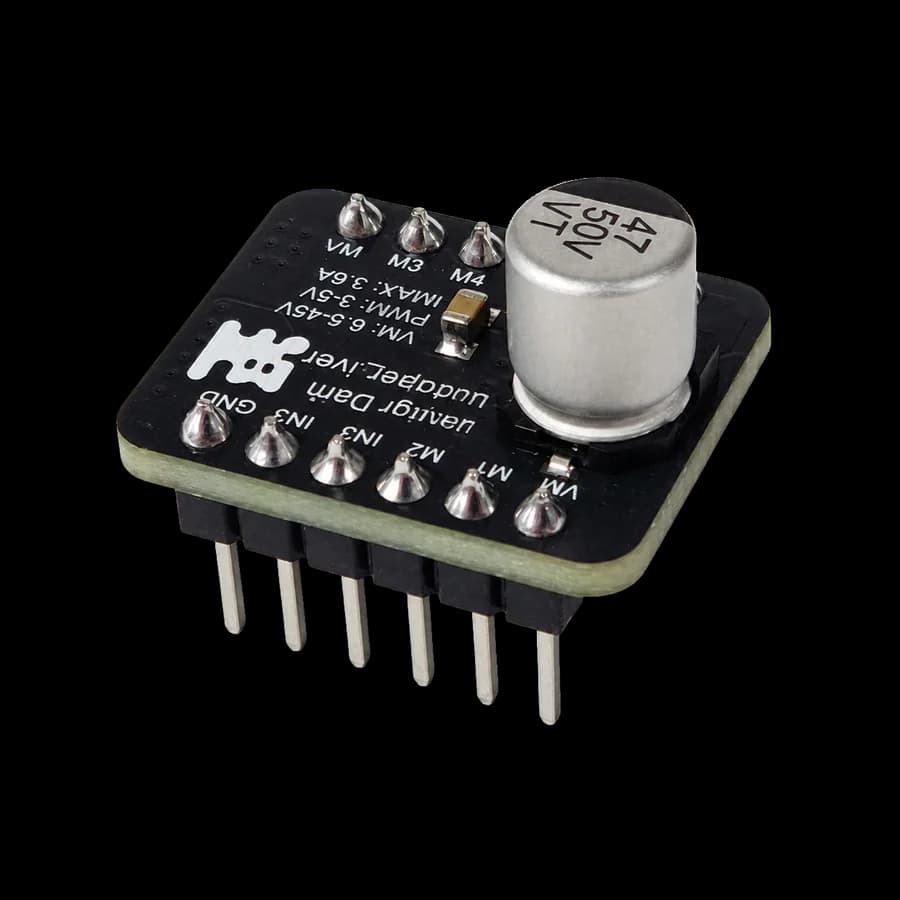
- Dual DC Motor Driver1 pcs
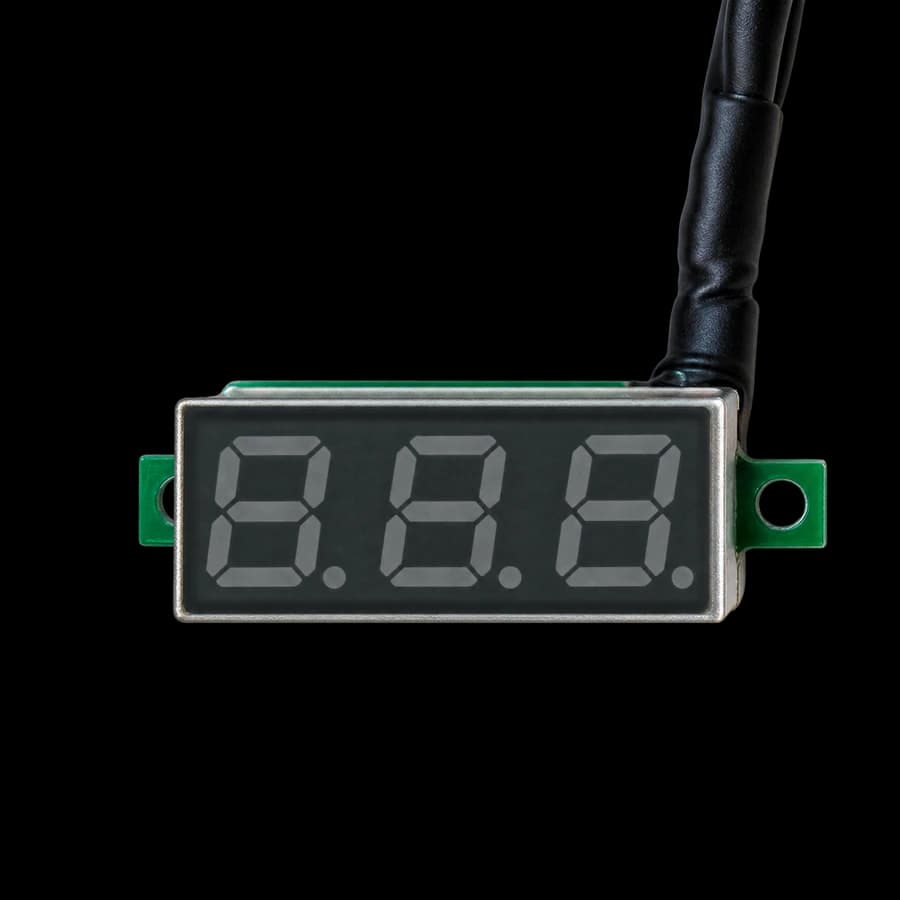
- Display voltmeter1 pcs
Motors and servos
The drives power the chassis, gripper, and elevator mechanisms.
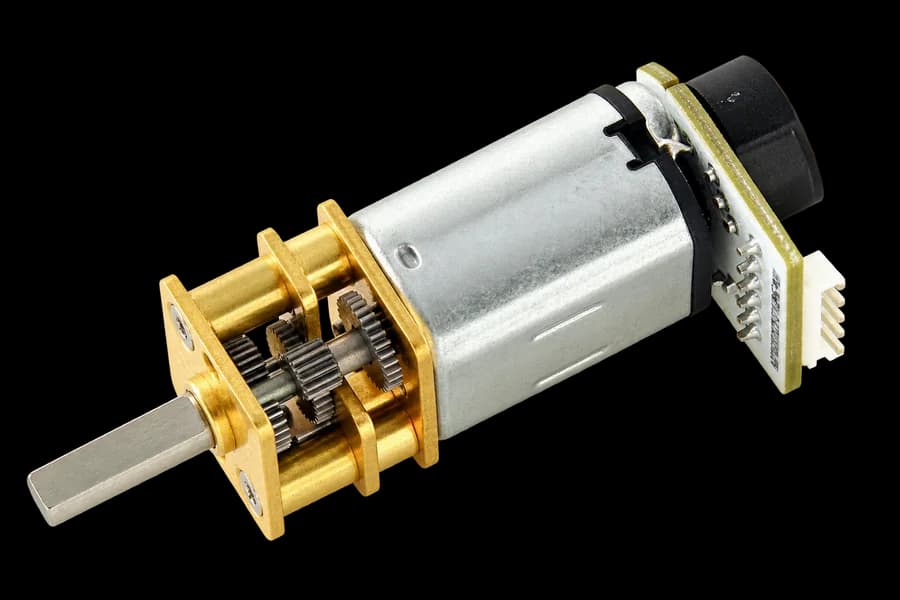
- N20 motor with encoder and wheel2 pcs
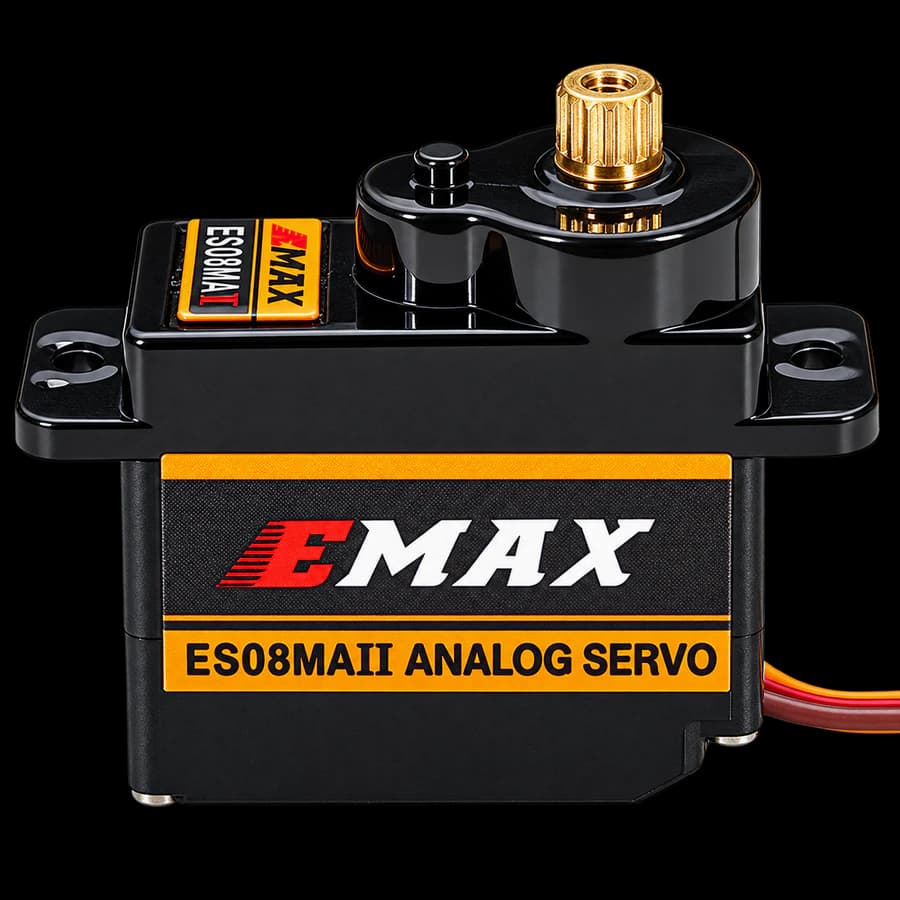
- EMAX II servo2 pcs
Chassis and mechanics
Prepared parts form a strong chassis and a working gripper mechanism.
- Robot chassisset
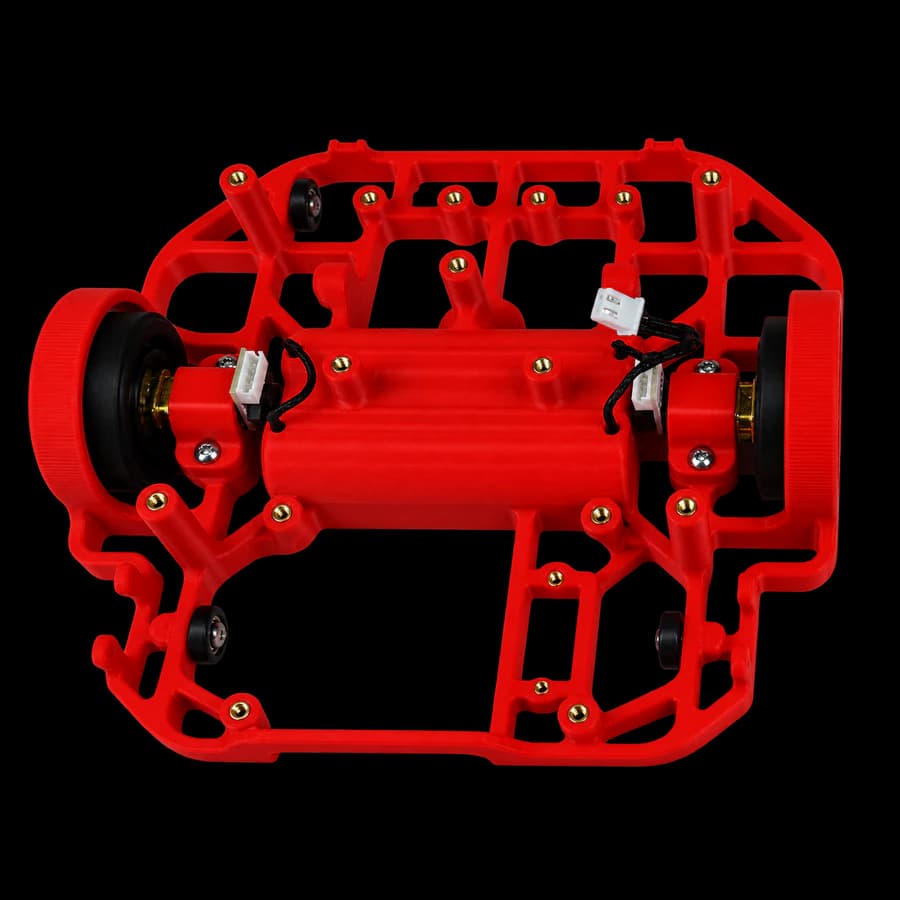
- Base partsset
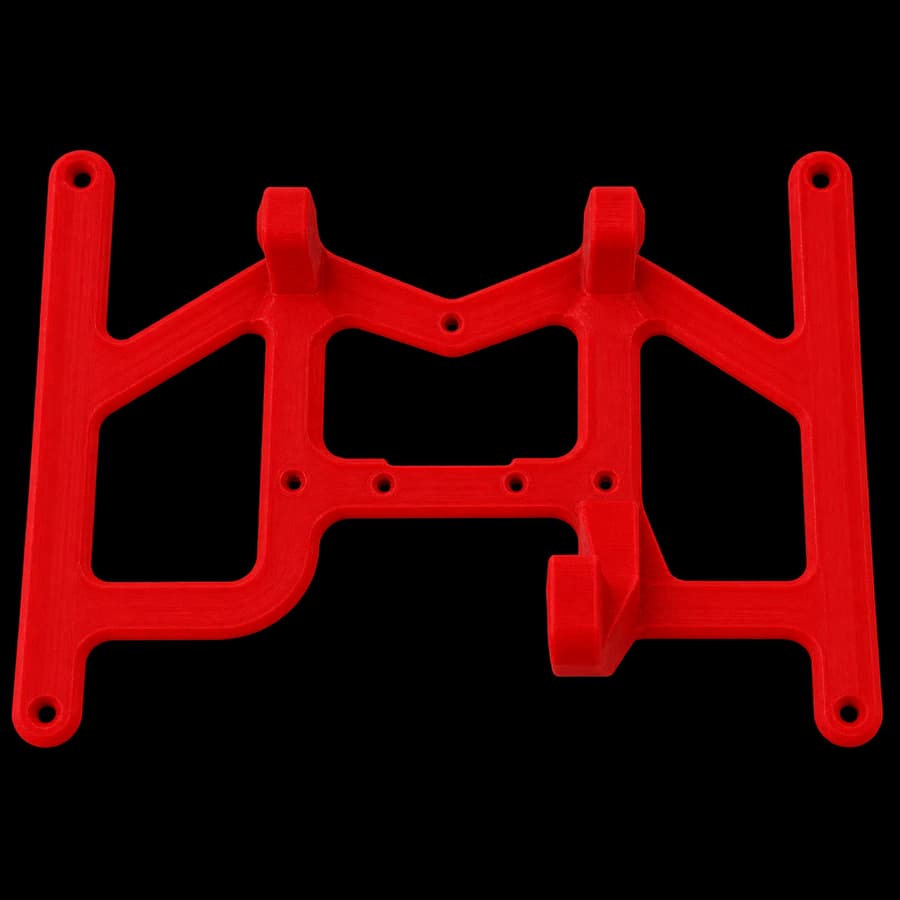
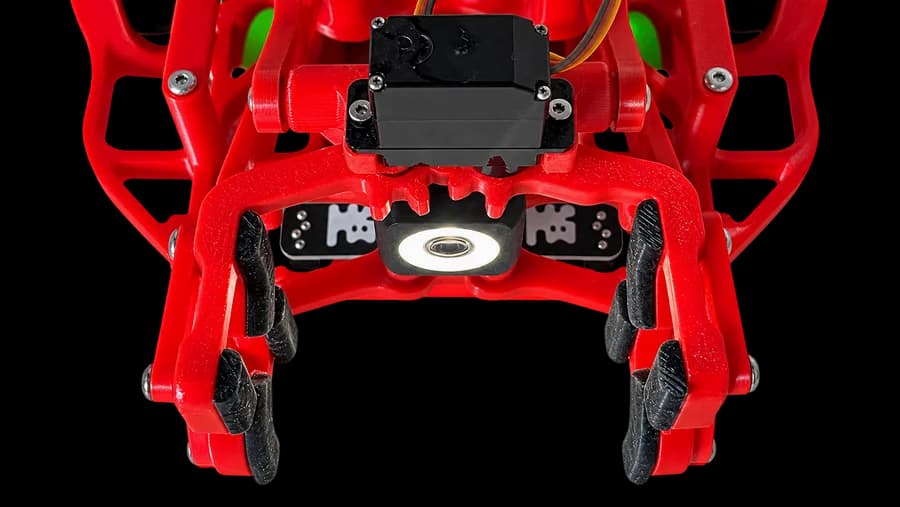
- Gripper partsset
Cables and fasteners
Everything required to connect, secure, and maintain the robot.
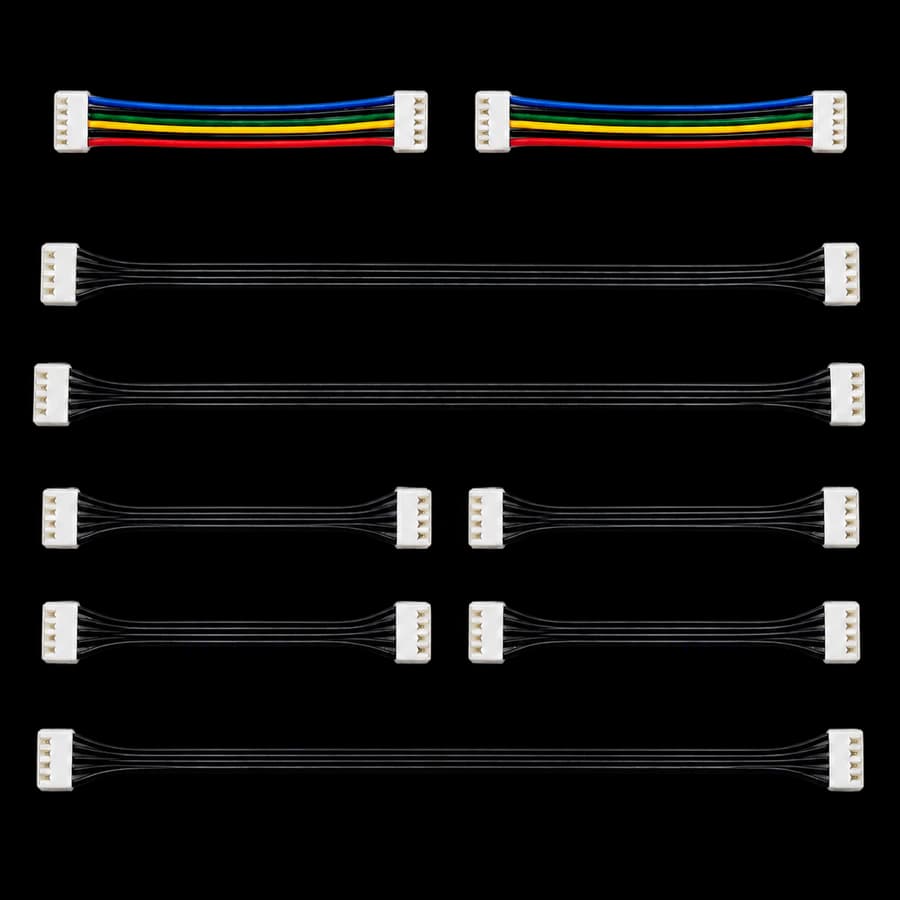
- Component cablesset
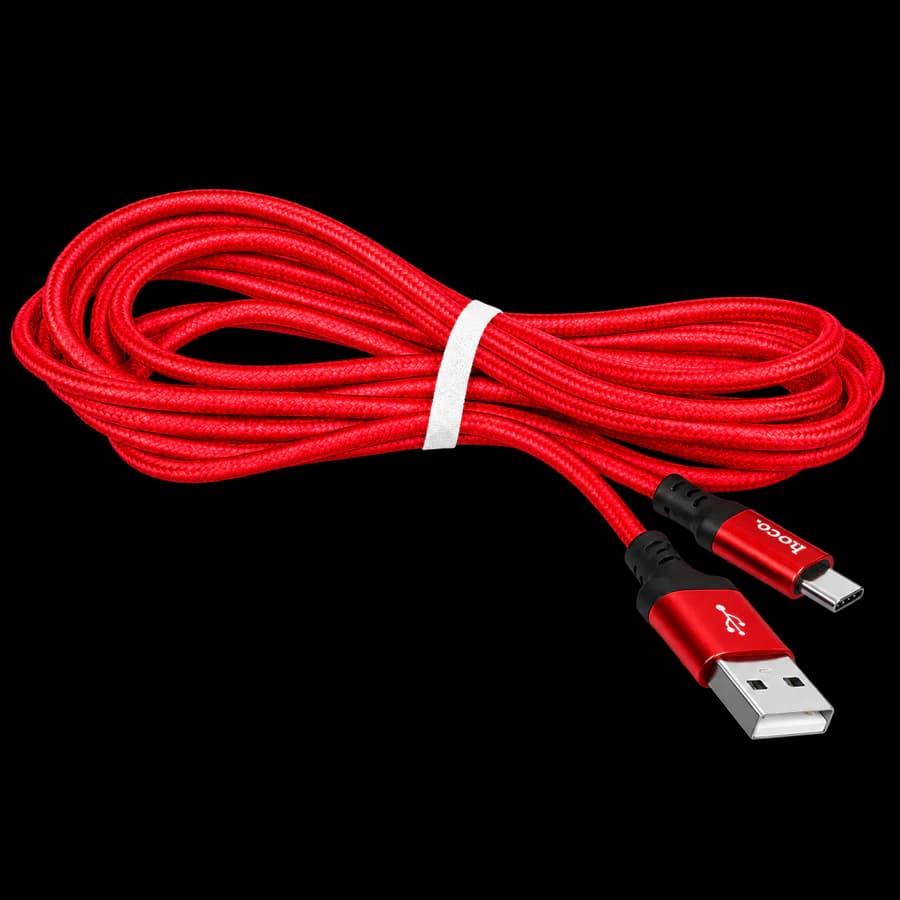
- Magnetic USB-C cable1 pcs
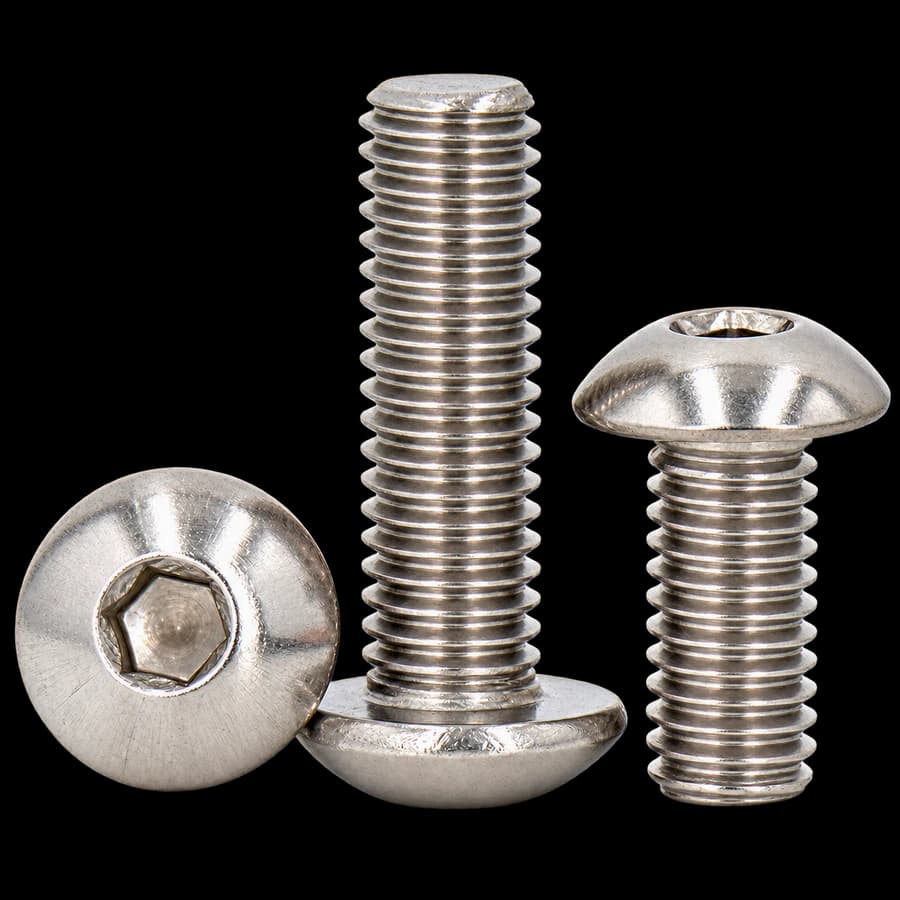
- Mounting screwsset
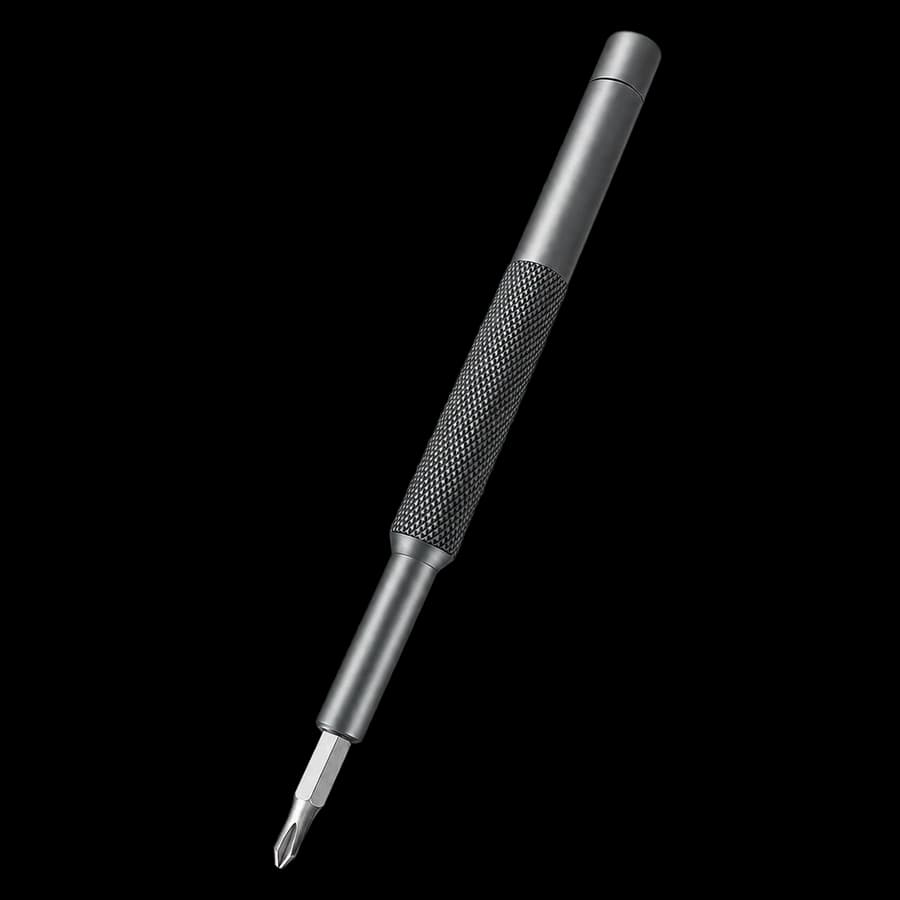
- H1.5 and H2.0 bit screwdriver1 pcs
Before assembly
Check the kit in a few minutes
If a part is missing, do not replace it with a random alternative—contact support first.
- 1Count the electronic modules
- 2Make sure connectors and cables are undamaged
- 3Sort the fasteners and prepare your workspace