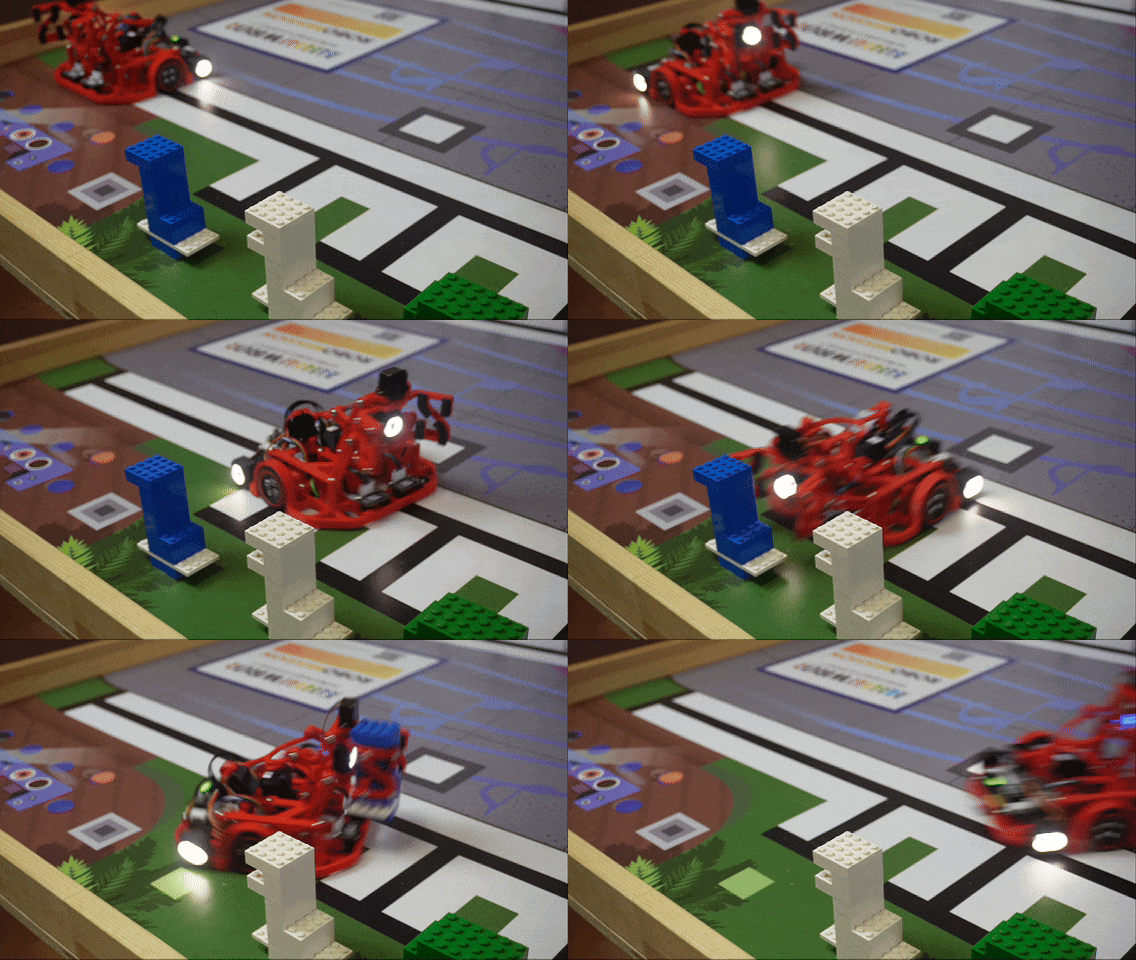
A hands-on robotics course built around Little Robot. The program gradually moves from connecting the robot to a computer to solving complex tasks: line following, color detection, precise turns, working with the gripper, and running autonomous missions.
Lesson 1. Arduino IDE
The first lesson introduces Arduino IDE — the environment where robot code is written and uploaded. Students connect the Control Deck, select the correct port, upload a first program, learn the sketch structure (setup() and loop()), and blink the built-in LED with pinMode(), digitalWrite(), and delay().
By the end, the full workflow is clear: write a program on the computer, upload it to the Control Deck, and watch the board execute the commands.
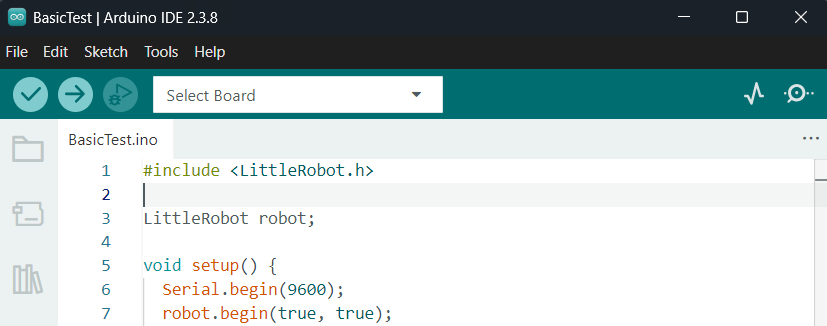
Lesson 2. C programming basics
Basic C constructs are taught through real robot actions. Variables, conditions, loops, and functions are applied immediately in simple programs for movement and control.
Programming stops being abstract code — it becomes clear how the robot makes decisions, repeats actions, and runs a given algorithm.
Lesson 3. Control Deck, digital and analog pins
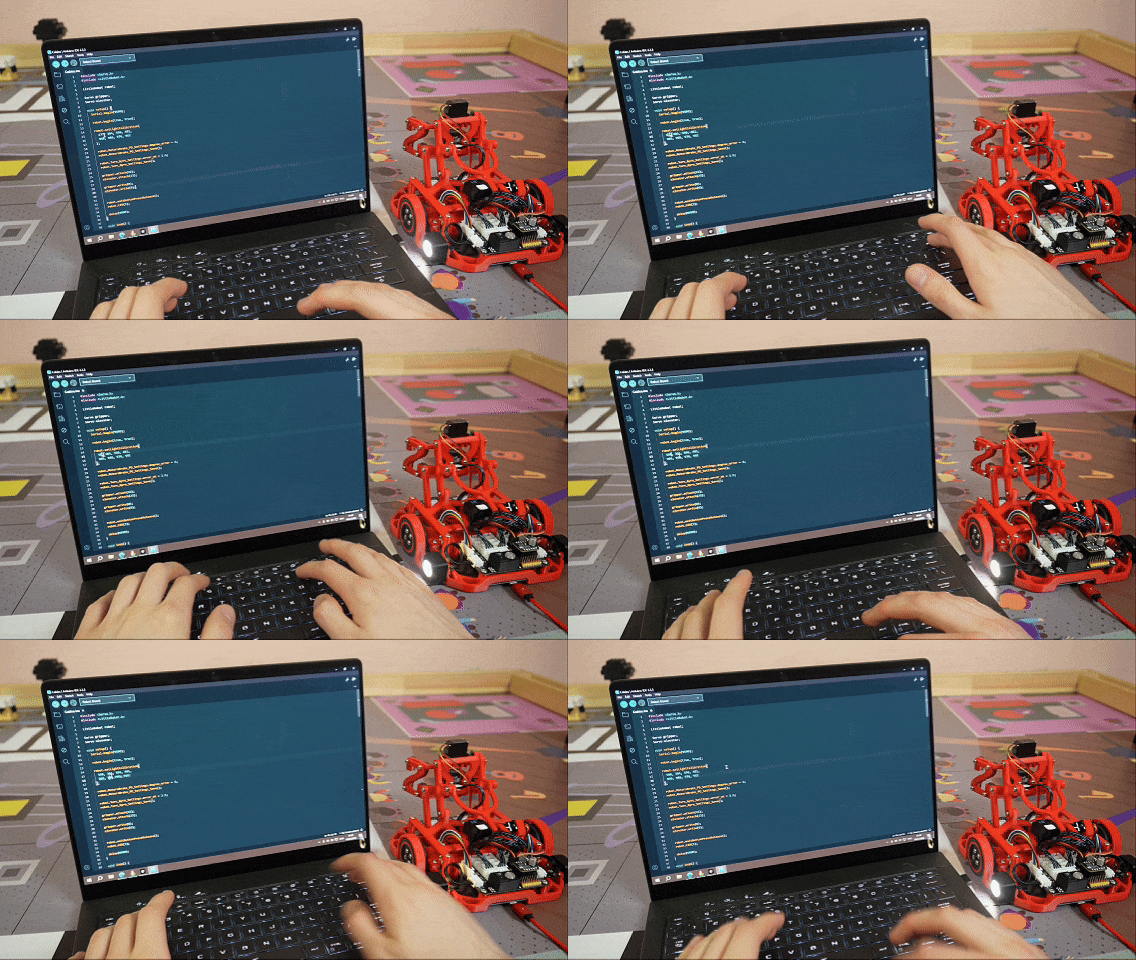
This lesson covers the robot’s hardware: the Control Deck, sensors, motors, servos, and power. Students learn where modules connect, how digital and analog pins differ, and how the robot receives information from the outside world.
The practical part focuses on connecting sensors and reading data in Serial Monitor — building a foundation for understanding the robot’s electronics.

Lesson 4. DC motors and Motor Driver
Students learn to control robot motion: forward and backward driving, turns, stopping, and changing speed. Special attention goes to the Motor Driver — the module that lets the Control Deck safely drive the motors.
In practice, the robot performs simple maneuvers and shapes, showing how motor speed and direction affect the whole chassis.

Lesson 5. Encoders and driving a set distance
Encoders measure motor rotation. With them, the robot can move not just “for a while”, but more precisely — a set distance, angle, or number of wheel degrees.
Practice compares time-based and encoder-based driving, runs precise moves and turns, and explains why feedback makes the robot more reliable.
Lesson 6. Line Follower and line following
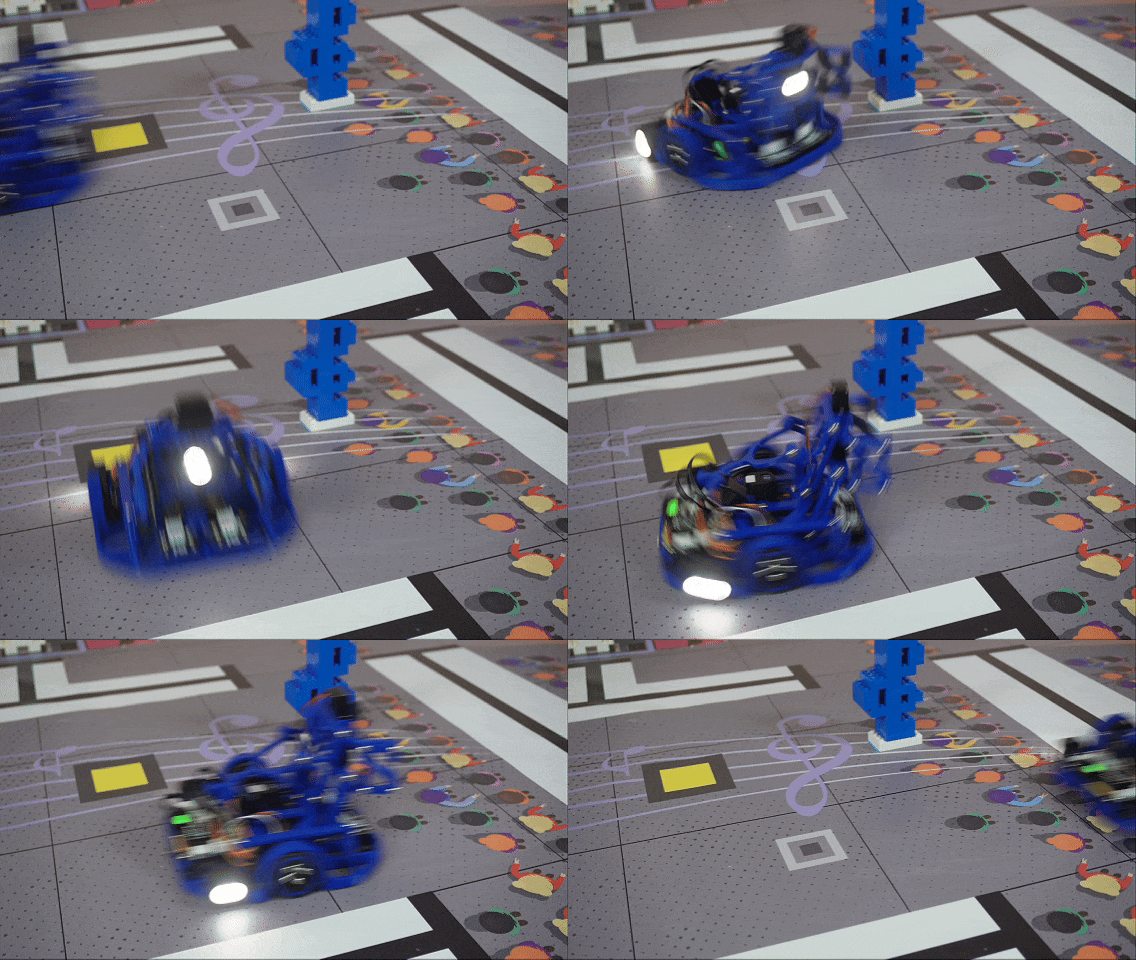
Students work with the Line Follower: reading surface values, telling light and dark areas apart, and programming the robot to follow a line.
After a simple algorithm, the PD controller is introduced for smoother, more stable driving — showing how sensor and code work together for navigation on the mat.

Lesson 7. Color Sensor, RGB and HSV
The Color Sensor reads RGB values, compares colors, and identifies objects. Students also see why the same color can look different under different lighting.
The HSV model is introduced as a practical way to detect hue. In practice, the robot reacts to colored objects and performs different actions depending on the color found.

Lesson 8. Motion Sensor and precise orientation
This lesson covers the Motion Sensor and robot orientation in space — yaw, pitch, and roll, with focus on yaw (rotation around the vertical axis).
Using the Motion Sensor, the robot turns to a set angle more accurately and drives straight with course correction — a step toward reliable autonomous navigation.

Lesson 9. Servo, gripper and elevator
Servo motors differ from DC motors: they hold a set angle instead of spinning continuously. That makes them ideal for grippers, elevators, drop mechanisms, and similar devices.
Practice covers servo angle control, building a simple mechanism, and combining driving with actions — grab, lift, lower, or move an object.