What is Arduino
Arduino is a popular open-source electronics platform designed for creating simple robotics devices and automation systems. It consists of two main parts: a small programmable board (a microcontroller) and free software for writing code (Arduino IDE).
An Arduino board has different pins. Through them, the board can control devices and receive signals from sensors. Arduino boards come in different sizes and shapes: from small Arduino Nano boards to full-size Arduino Mega boards.
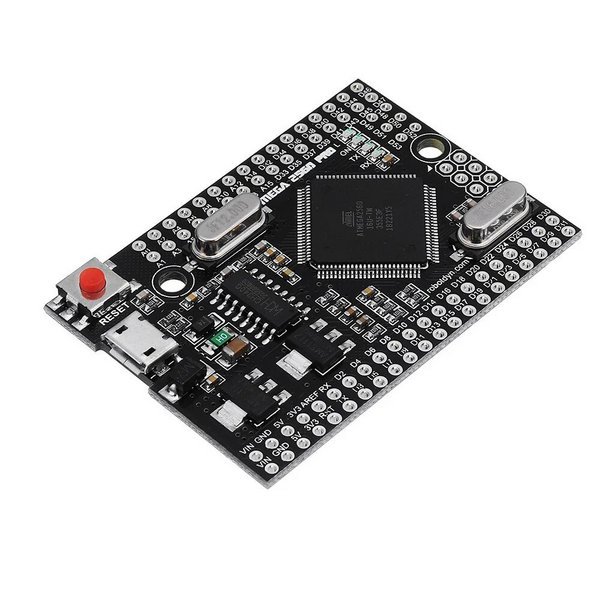
Our Little Robot uses an Arduino Mega 2560 Pro board. Its main difference is that the Mega has more pins, so it is more convenient for a robot where motors, sensors, servos, and other modules work at the same time.
What is Arduino IDE
Arduino IDE is a programming environment for Arduino-family boards.
In it, you create a sketch - this is what an Arduino program is called. After you write the code, Arduino IDE checks it for errors, translates it into a form the board can understand, and sends it to the microcontroller through a USB cable.
Through this environment, you can choose the correct board, specify the connection port, and upload your first program, for example blinking the built-in LED. In other words, Arduino IDE is the main workspace through which the user communicates with the Arduino board.
Arduino IDE Interface
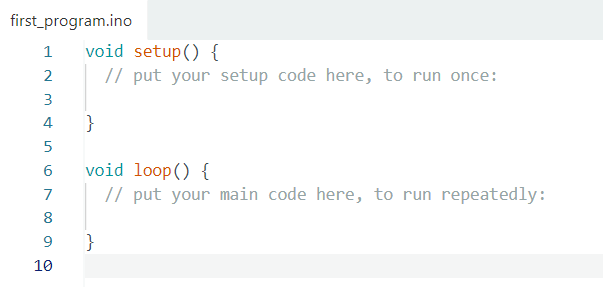
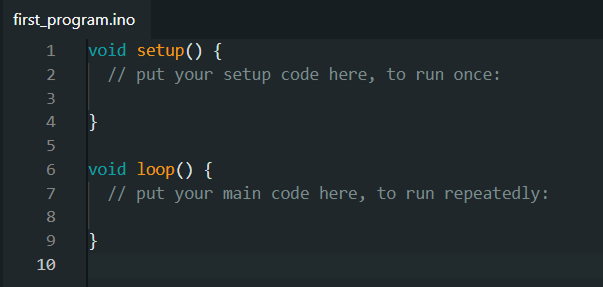
After installing the program from the official website, open Arduino IDE. You will see the main program interface:
-
Code editor in the center of the program
-
Top menu, as well as the Verify (check mark) and Upload (arrow) buttons
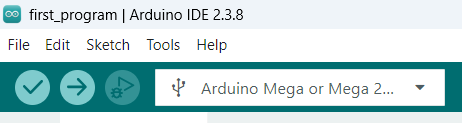
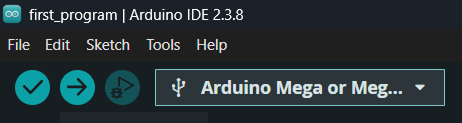
-
The Serial Monitor icon (magnifying glass) on the right side of the top panel

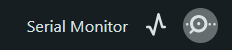
If the interface is in an inconvenient language, open File -> Preferences and choose the language you need.
Connecting the Board to the Computer
To connect your robot, you will need the magnetic USB cable from the kit. Connect one end of the cable to the robot and the other end to a USB port on your computer.
After connecting, open Tools -> Port in the top menu.
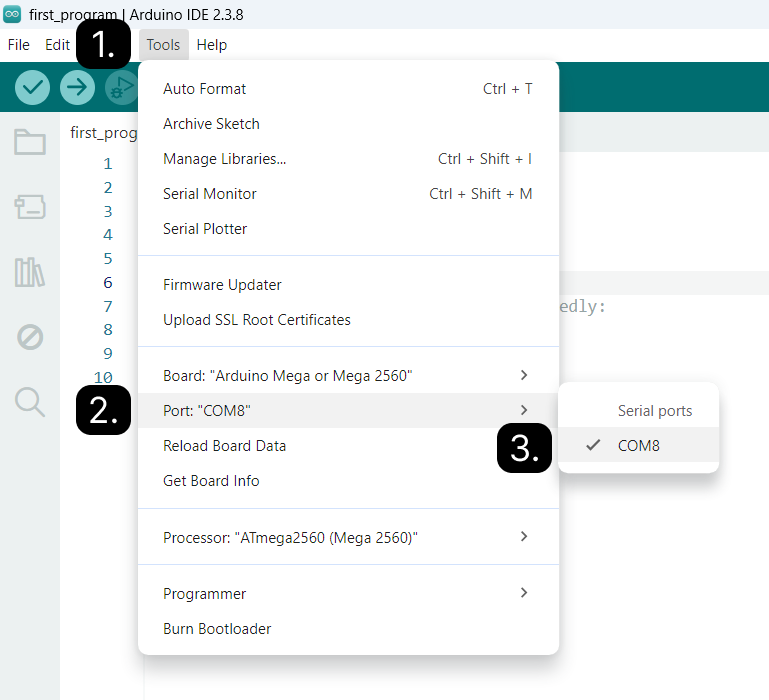
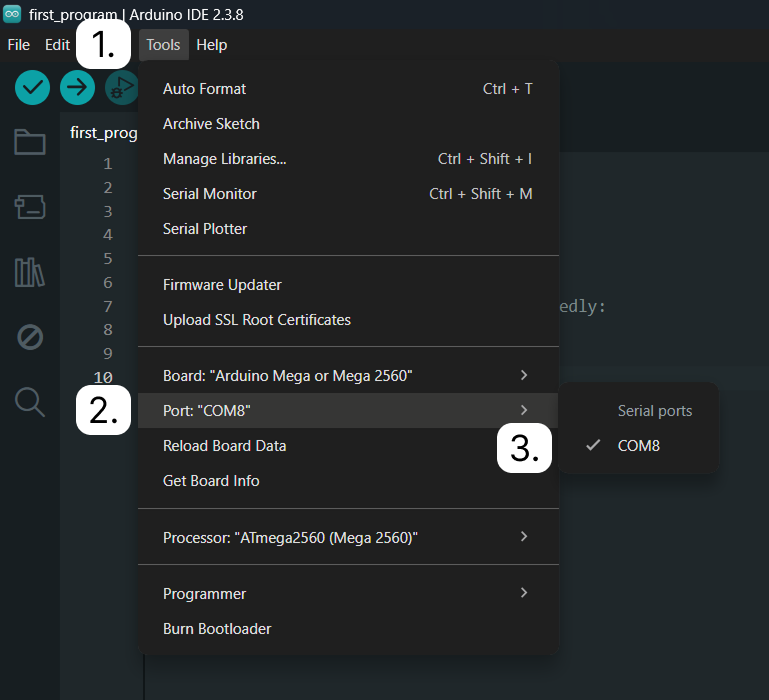
Choose the port that appeared after connecting the cable.
- Windows: usually
COM3,COM4, and so on - macOS: often
/dev/cu.usbserial...or/dev/cu.usbmodem... - Linux: often
/dev/ttyUSB0or/dev/ttyACM0
If there is no port in the list, try another USB port, another cable, or reinstall the drivers on your computer.
Choosing the Arduino Board
To choose the exact Arduino board model, find Tools -> Board in the top menu.
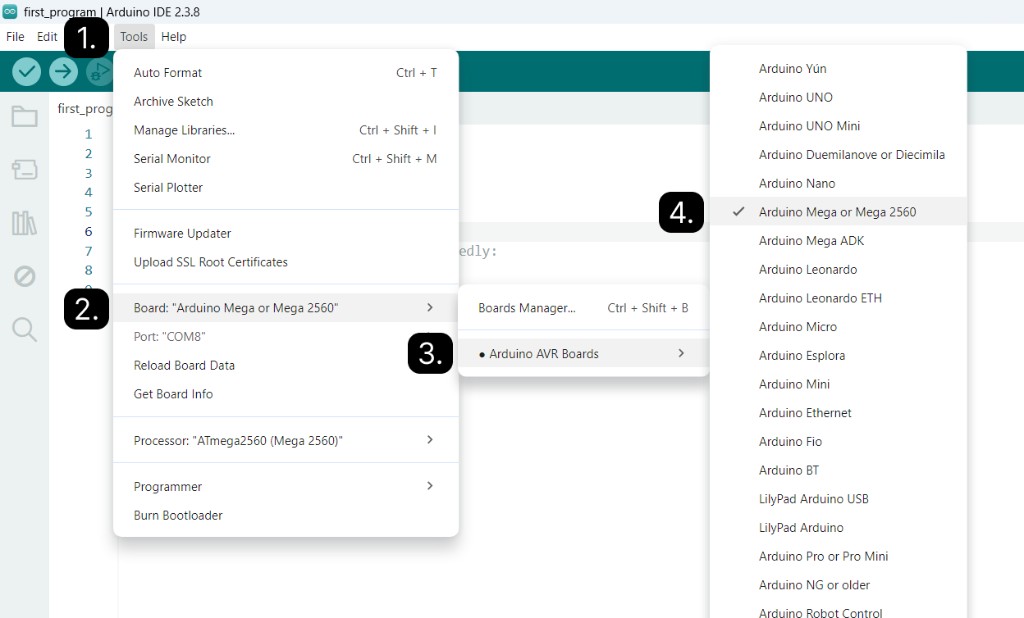
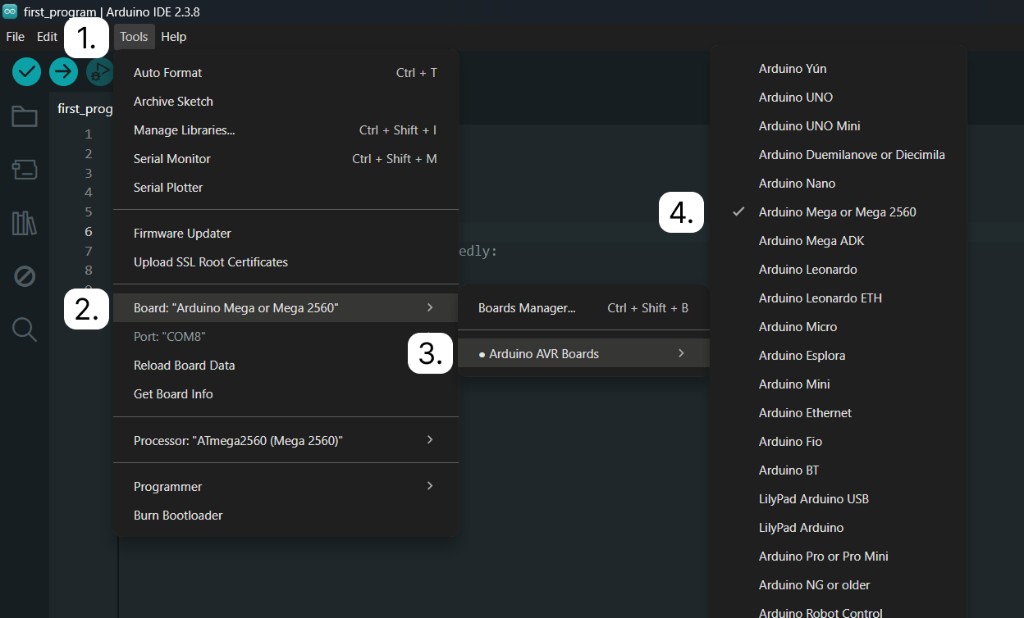
Then choose Arduino Mega or Mega 2560 from the drop-down list.
If you decide to use another board, do not forget to change the current board in Tools to the new one.
How a Sketch Is Built
Every Arduino program consists of two parts:
void setup() {
  // Runs once after power-on or reset
}

void loop() {
  // Runs again and again
}
setup() runs once at startup.
This is where you usually configure pins, sensors, and other elements - everything that needs to be done before the main work begins.
loop() runs without stopping.
This is where the main program logic is located - the part that should repeat again and again.
Serial Monitor
Serial Monitor helps exchange messages between the computer and the board. After uploading a program, it is not always clear what Arduino is doing at the moment. To let the board print messages to the computer, Serial Monitor is used. The Serial Monitor interface is shown below:
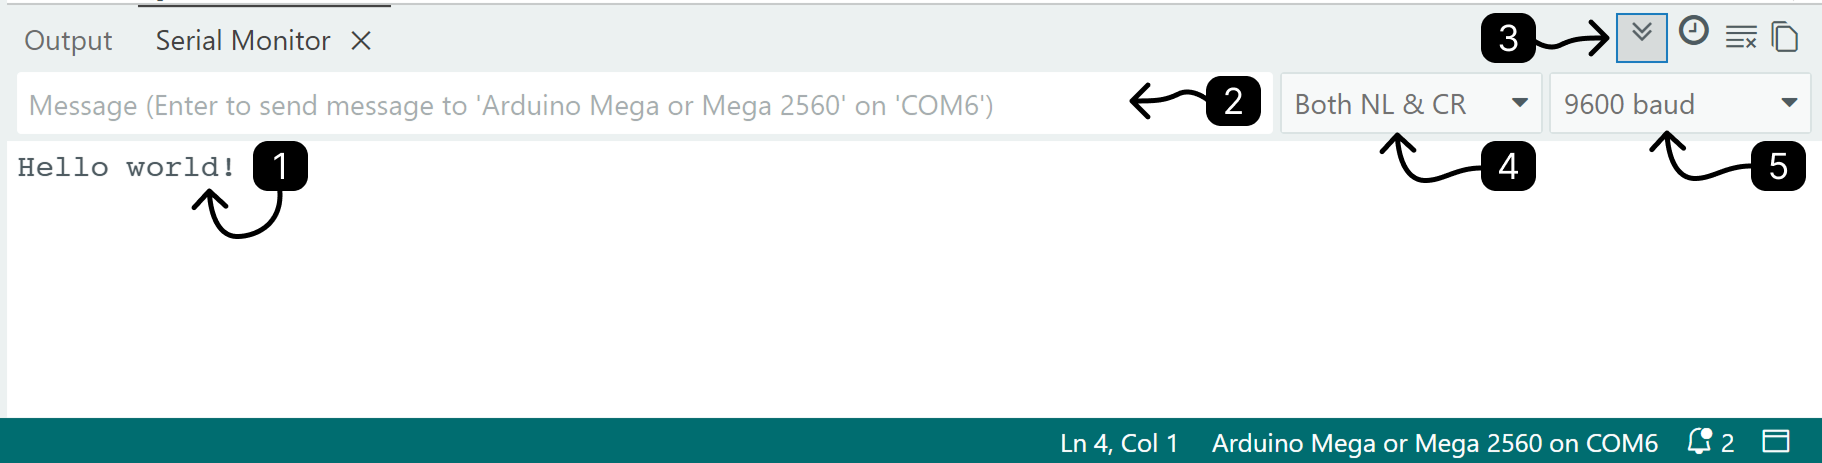
- Messages that come from the board to the computer are displayed here.
- This field is used to send a message from the computer to Arduino.
- This is the autoscroll setting: if there are many messages, the window will automatically move to the last line.
- This setting defines which service characters will be added to the message when it is sent to the board.
- This is where you choose the data exchange speed between the board and the computer.
One of the main Serial Monitor settings is the data transfer speed. It shows how fast the board and the computer exchange messages through the USB connection.
It is important that the speed in the program and the speed in Serial Monitor match. If they are different, the computer may read the data incorrectly: instead of clear text, strange characters may appear in the window, or messages may be displayed incorrectly.
Main Commands
First, you need to start data exchange between the computer and Arduino.
The command Serial.begin(9600); does this. It is written in setup() and sets the data transfer speed to 9600. Example:
void setup() {
  Serial.begin(9600);
}
To output a message to Serial Monitor, use Serial.print();. It prints text or a value without moving to a new line. The similar function Serial.println(); also prints a message, but after it prints, it moves the cursor to the next line.
First Program
Let's try printing the first messages to Serial Monitor. We will write the commands in setup() so that everything appears on the screen exactly once.
Important note: when printing numbers, quotation marks are not required. But if a message contains text, it must be wrapped in quotation marks, otherwise the program may not work. Arduino also does not add spaces after messages automatically. If you need a space, add it yourself.
void setup() {
  Serial.begin(9600);
  Serial.print("Hello world! ");        // Remember to leave a space after the message
  Serial.println("My name is Sasha!");  // Move to the next line

  Serial.print("I'm ");
  Serial.println(20);
}

void loop() {

}
After uploading the program to the board, open Serial Monitor. Make sure the data transfer speed is set to the same value as in the program. If everything is done correctly, Serial Monitor will show:
Hello world! My name is Sasha!
I'm 20
It worked! Your first program is running. The line moved only in the places where the correct command was used.
Try changing the message text in the program and uploading it to the board again to practice using Serial Monitor.