What you need
- A Windows, macOS, or Linux computer
- USB cable from the Little Robot kit
- Administrator rights on the computer (for installation)
Step 1 — Download Arduino IDE
| System | Download |
|---|---|
| Windows (64-bit) | From this site: arduino-ide_2.3.10_Windows_64bit.zip · From the official site: arduino.cc/en/software |
| macOS / Linux | arduino.cc/en/software |
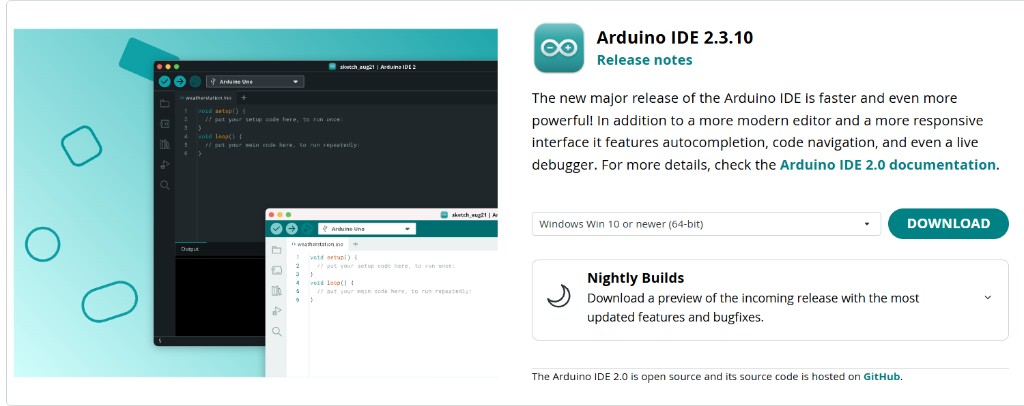
For Windows, download the zip from this site or get the build from the official site. For macOS and Linux, choose Arduino IDE 2 on the official site and download the build for your system.
Step 2 — Install
Windows
- Extract the zip and run the
.exefile. - Accept the license and keep the default install location.
- When asked, install the USB driver — the Control Deck needs it to appear as a serial port.
- Finish the installer and launch Arduino IDE.
macOS
- Open the downloaded
.dmgfile. - Drag Arduino IDE into Applications.
- On first launch, allow the app in System Settings → Privacy & Security if macOS blocks it.
Linux
- Extract the archive or use your distribution’s package if your school provides one.
- Run
install.shfrom the extracted folder, or startarduino-idefrom the app menu.